Hey lovelies! Whether you’re an art lover or someone who just craves a cozy, stylish space, I’ve got you covered with these DIY home decor projects. I promise, they’re budget-friendly and super fun! Plus, I’ll drop some product recommendations from Amazon to help you get started. Let’s give your space a fresh vibe without breaking the bank.
1. Create Your Own Wall Art
Art can make or break a room. Instead of splurging on pricey pieces, why not create your own? You don’t have to be a professional—abstract art is in, and it’s all about playing with colors!
What You’ll Need:
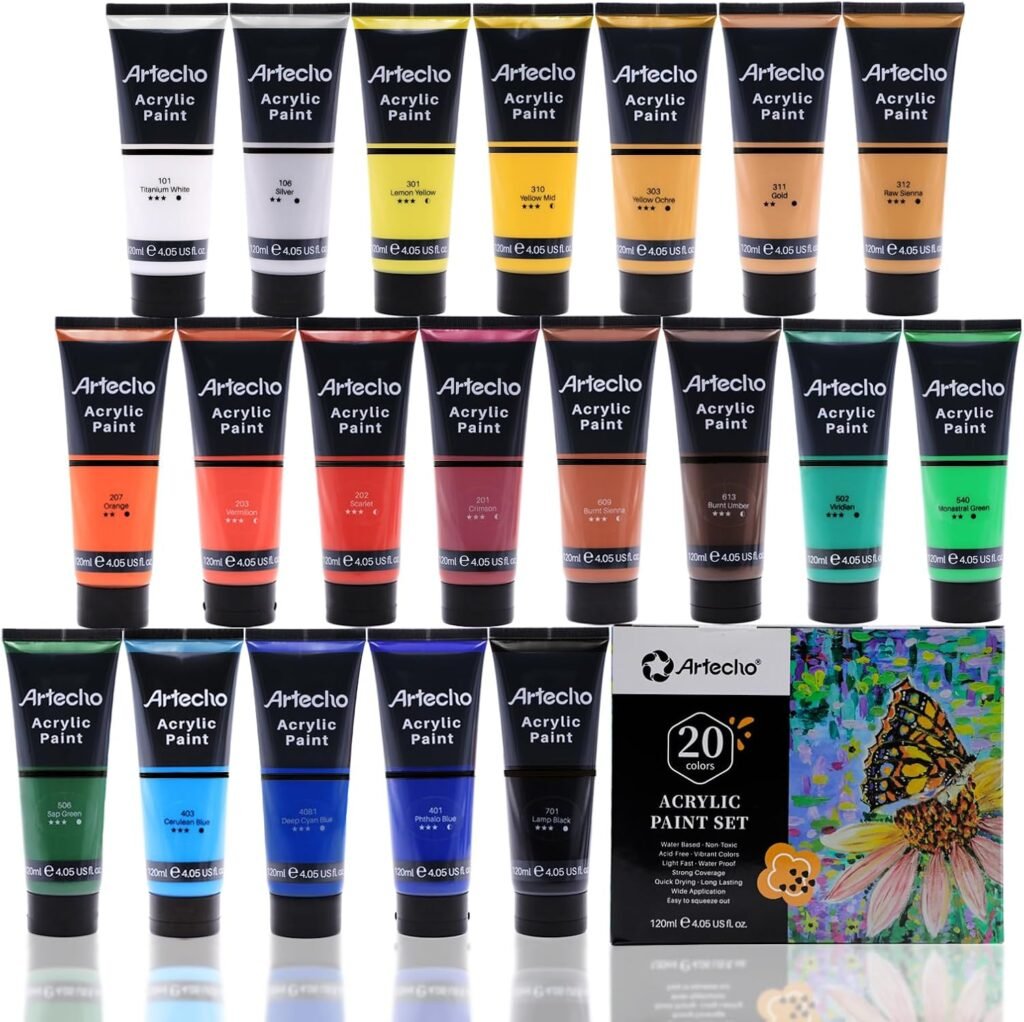
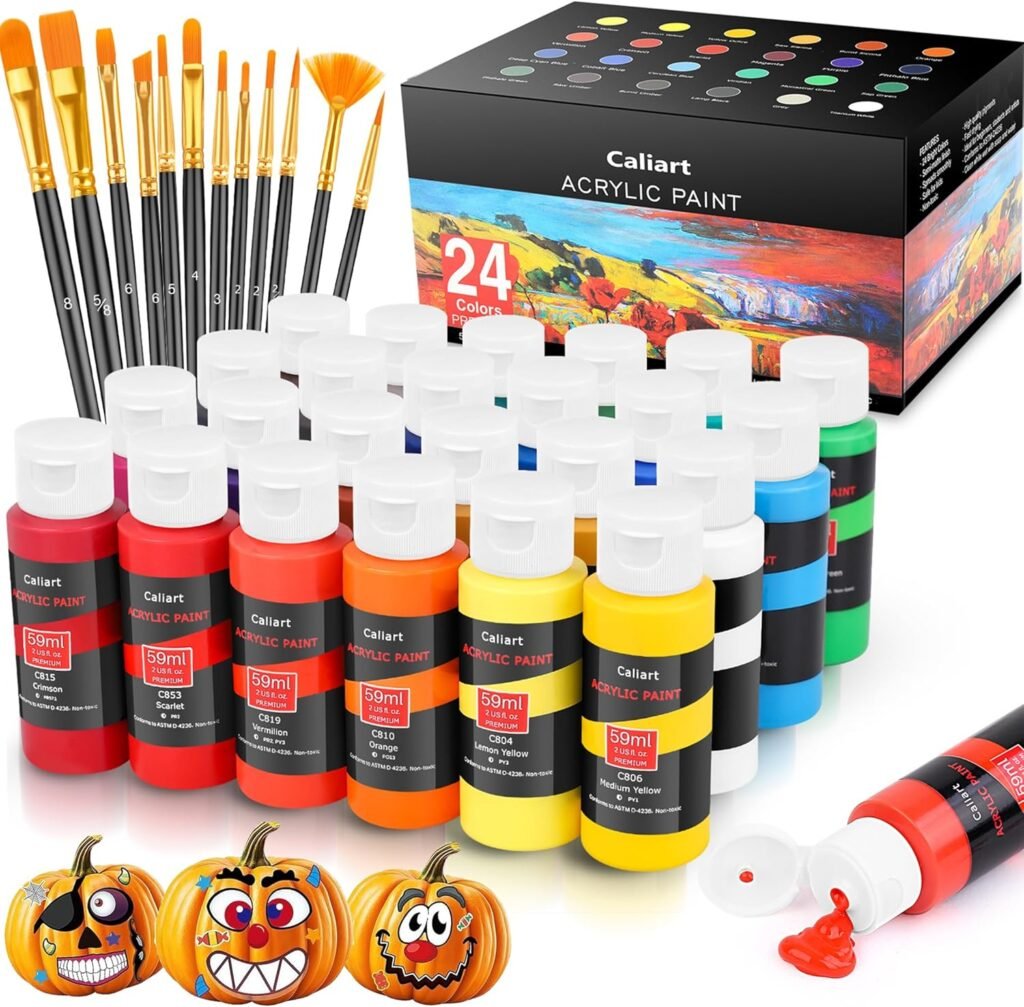
- Acrylic Paint Set – Try this Acrylic Paint Set by Benicci, perfect for beginners and pros alike.
- Canvas Pack – Get started with a pack of canvases for multiple projects.
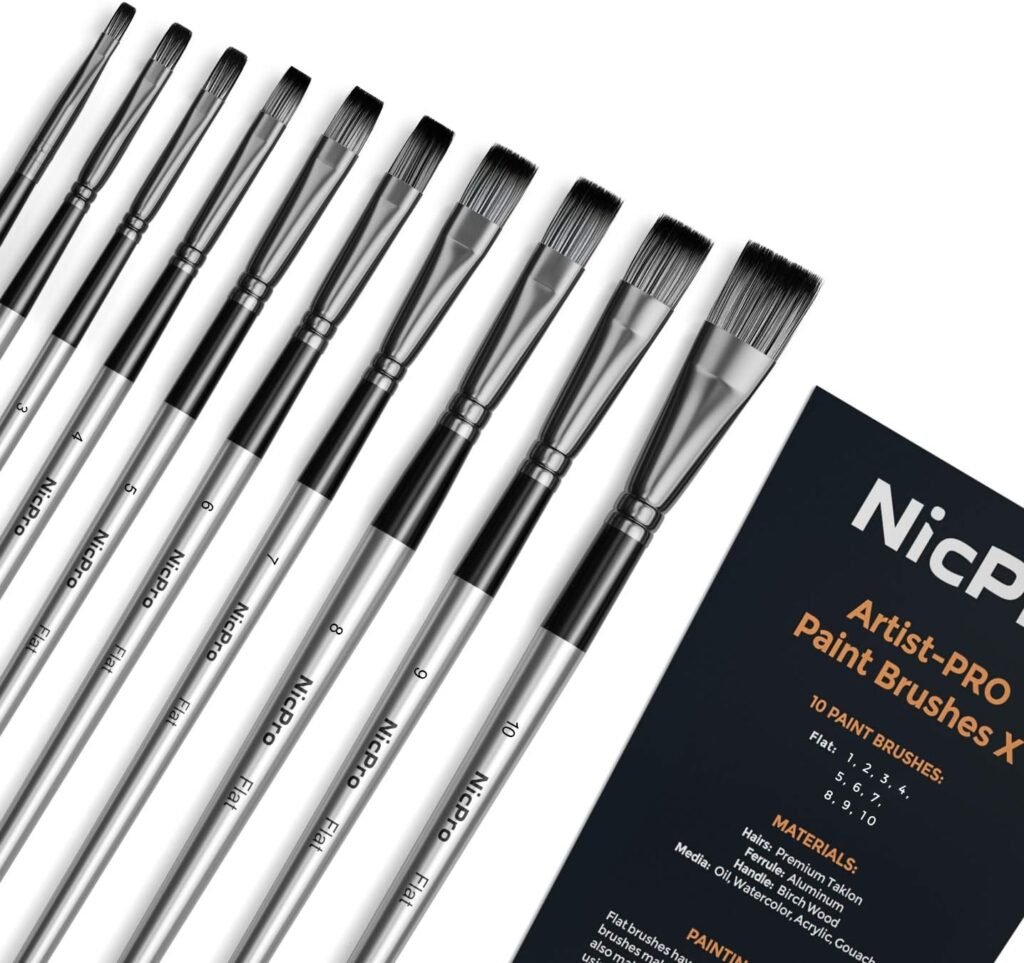
- Paint Brushes – I love the Artify 10 pcs Paint Brush Set for both big strokes and fine details.
Instructions: Start by deciding your color palette and style. Abstract art is all about freedom, so don’t be afraid to experiment. Layer colors using large brushstrokes and add details with smaller brushes. Let each layer dry before adding another to create depth. You can also find inspiration and tutorials on YouTube, like this beginner’s abstract painting tutorial.
2. DIY Floating Shelves
Floating shelves are perfect for displaying trinkets, plants, and even books. You can make your own with a few wooden boards and brackets. It’s such a versatile look!
What You’ll Need:
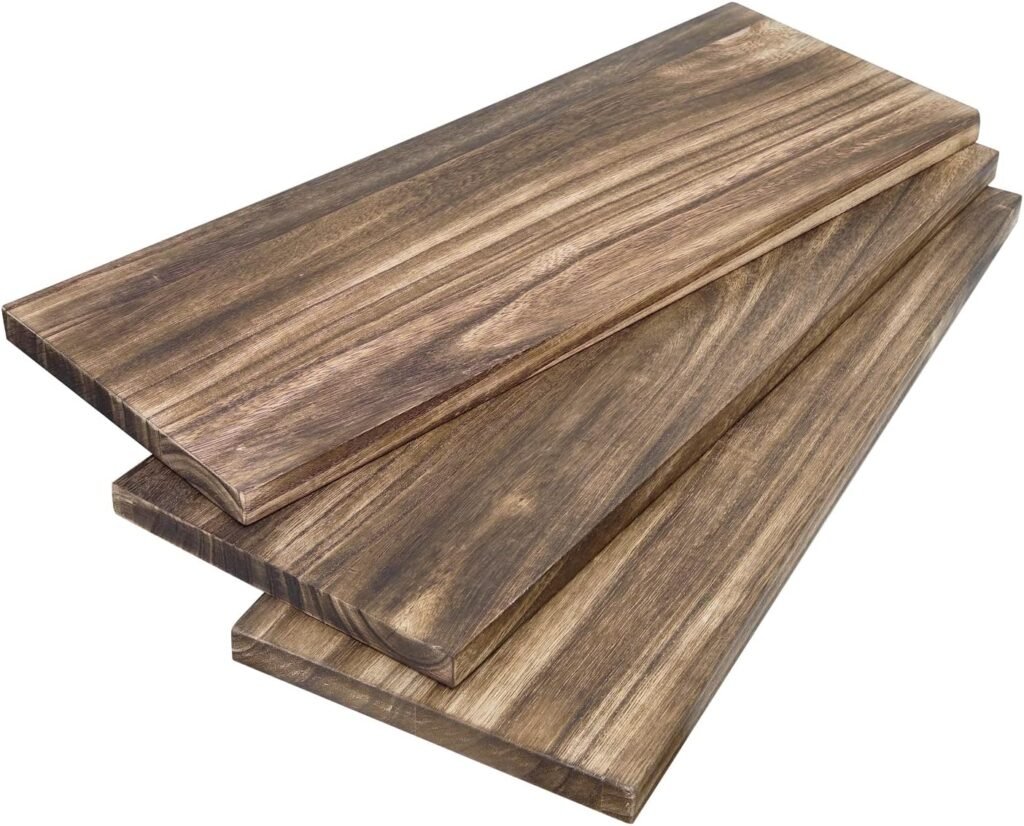
- Rustic Wooden Planks – Natural wood for that perfect rustic vibe.
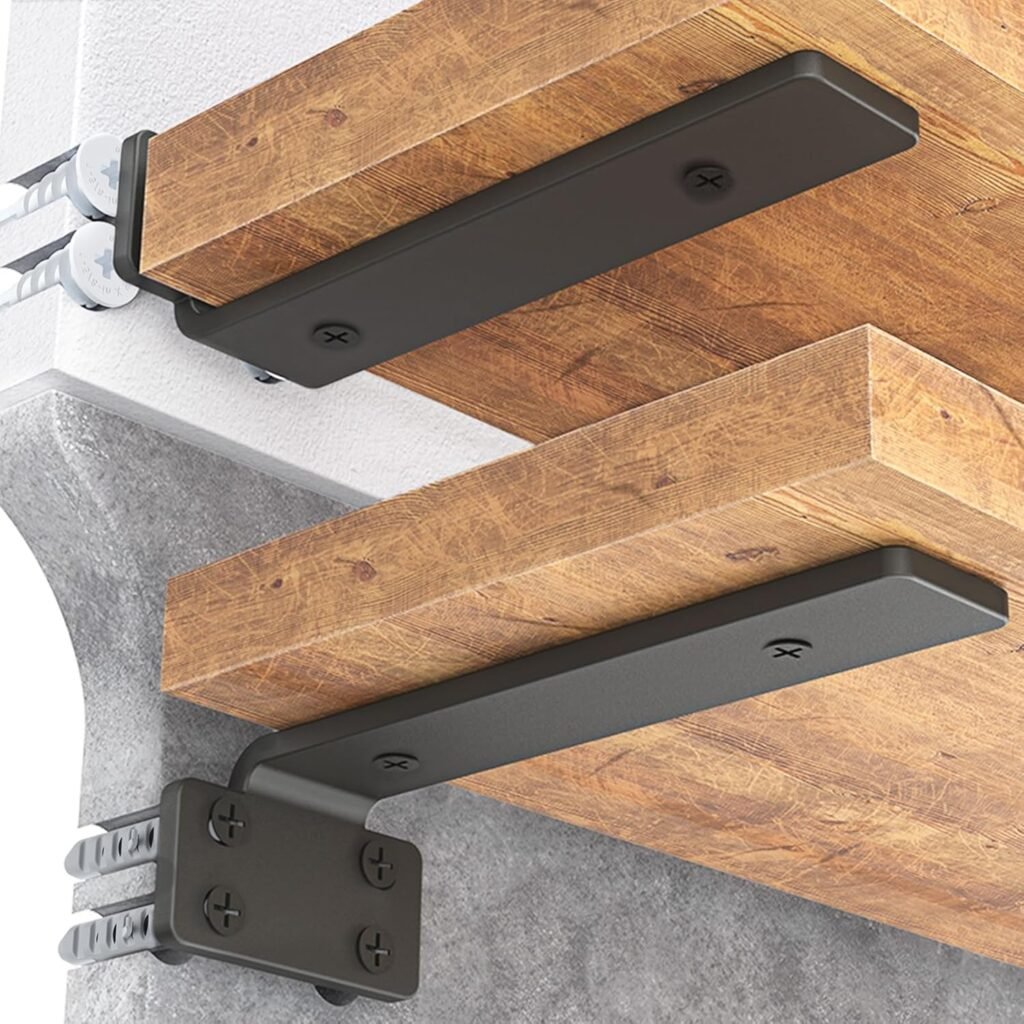
- Brackets – Simple black brackets to give a sleek look.
Instructions: Measure your wall space and decide on the height and length of your shelves. Drill holes for the brackets, ensuring they’re level. Once the brackets are secured, place the wooden planks on top. You can paint or stain the wood if you want a different look. Check out this tutorial on installing floating shelves.
3. Upcycled Furniture with Chalk Paint
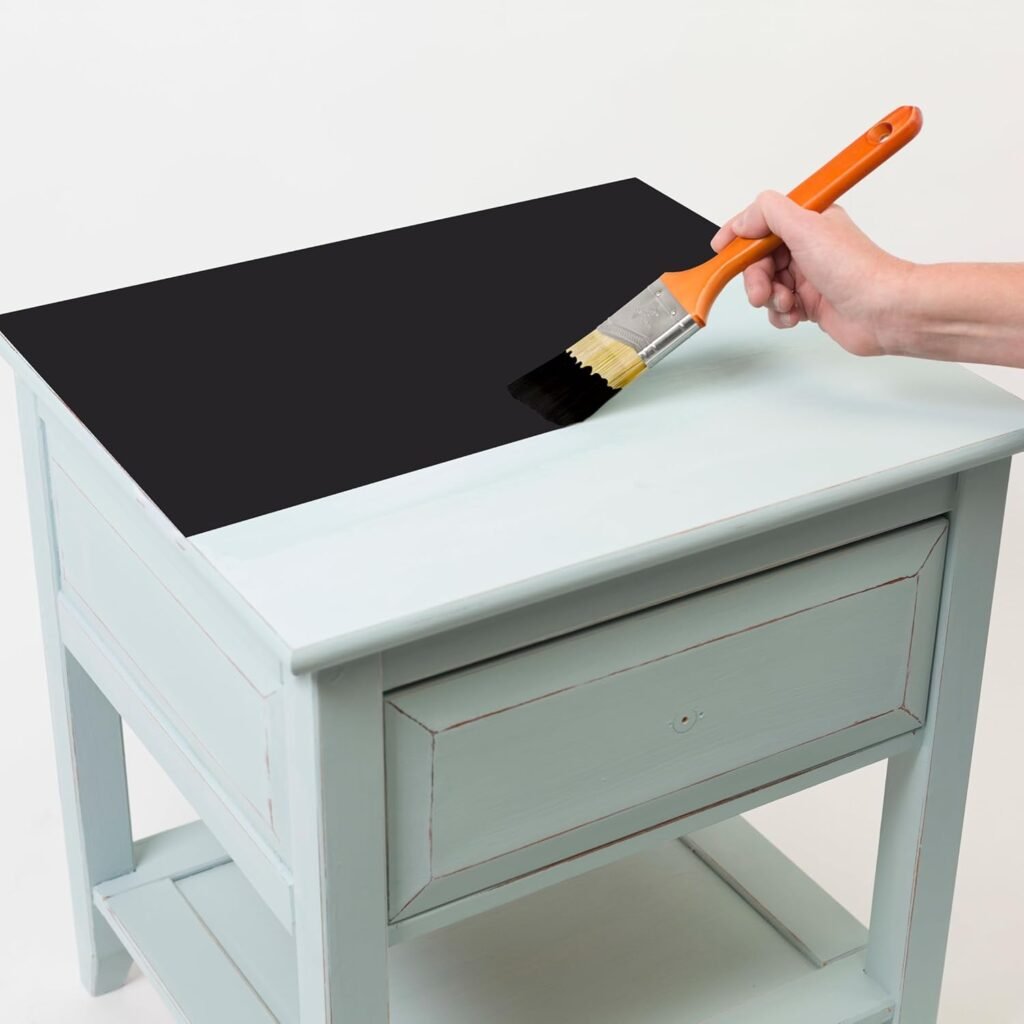
Give your old furniture a new life with some chalk paint! You can easily transform an old dresser or chair into something chic and trendy.
What You’ll Need:
- Rust-Oleum Chalked Paint – This paint is a favorite for that farmhouse or vintage look.
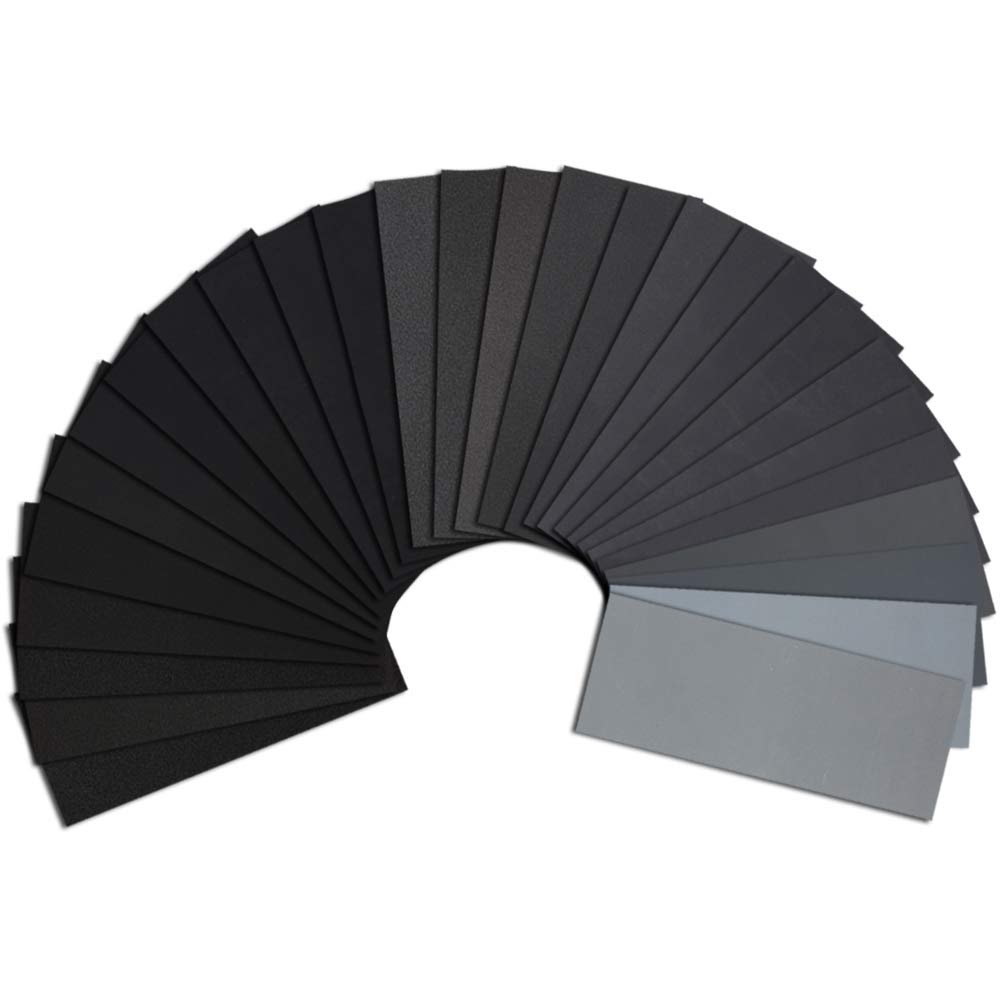
- Sandpaper Set – To prep your surfaces before painting.
Instructions: Start by lightly sanding the furniture to smooth any rough edges. Wipe it clean, and then apply a coat of chalk paint. Let it dry, and apply a second coat if needed. For an antique look, sand the edges after painting. Here’s a step-by-step guide to using chalk paint.
4. Make a Woven Wall Hanging
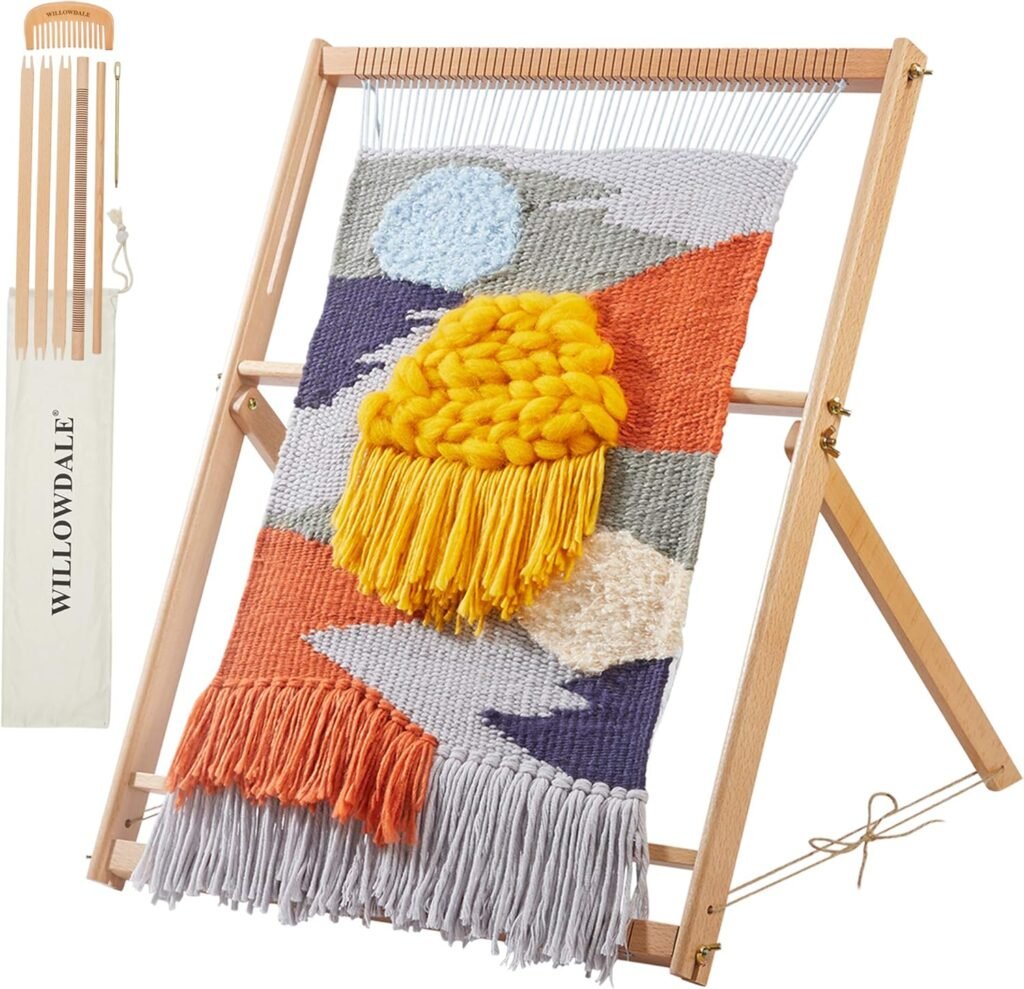
Woven wall hangings are boho-chic and can warm up any space. The best part? You can make your own with a DIY loom kit and some yarn.
What You’ll Need:
- DIY Weaving Kit – Includes everything you need to get started.
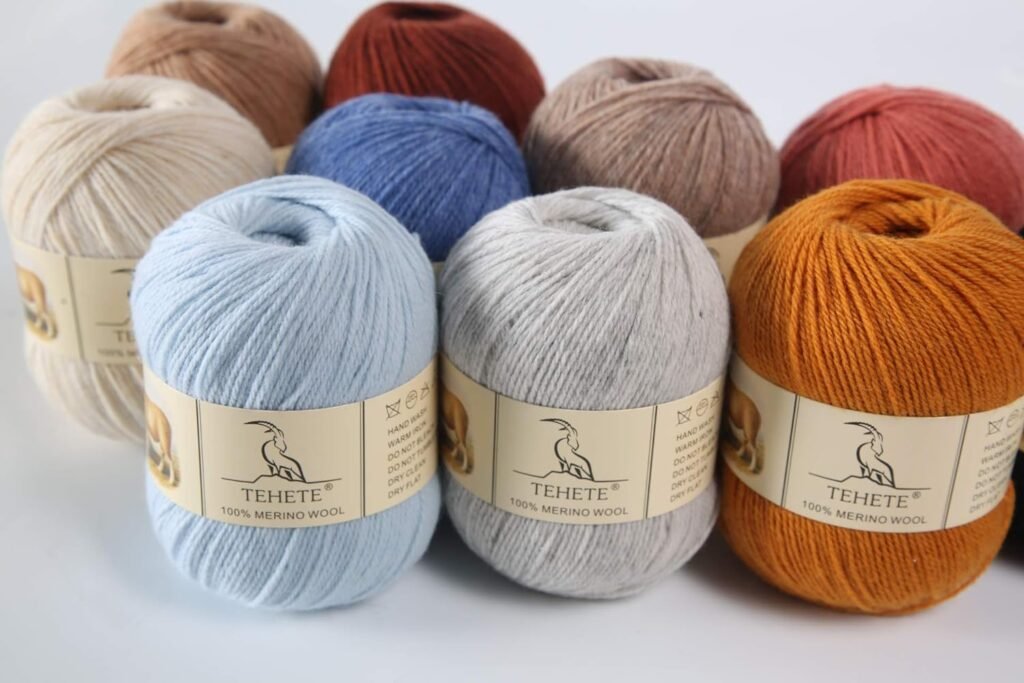
- Wool Yarn Set – Soft yarns in neutral tones to fit any decor.
Instructions: Follow the instructions in your DIY weaving kit to set up the loom. Start weaving the yarn through the warp threads, alternating the colors and thicknesses to create texture. You can make knots and tassels for extra flair. For more guidance, watch this weaving for Beginners tutorial .
5. Personalized Doormat
Welcome guests with a customized doormat! All you need is a plain mat and some stencil letters.
What You’ll Need:
- Plain Coir Doormat – A durable option that’s easy to customize.
- Letter Stencils – Perfect for creating a chic design with paint.
Instructions: Place the stencils on the mat, securing them with tape. Use a sponge brush to dab paint over the letters. Let the paint dry before removing the stencils. This DIY doormat tutorial offers great tips to make it perfect.
6. Painted Terra Cotta Pots
Spruce up your plant babies with painted pots! This project is an easy and affordable way to add color to your home.
What You’ll Need:
- Terra Cotta Pots – Classic and simple.
- Acrylic Paint Set – Use the same set from the first project to personalize your pots.
Instructions: Clean the pots, then start painting! You can add patterns like stripes, polka dots, or go for an abstract design. Seal the paint with a clear coat to protect it from water. Check out this terra cotta pot painting guide for ideas.
7. DIY Macrame Plant Hangers
Hanging plants are a gorgeous way to add life to a room. Learn basic macrame techniques and create your own plant hangers for that boho touch.
What You’ll Need:
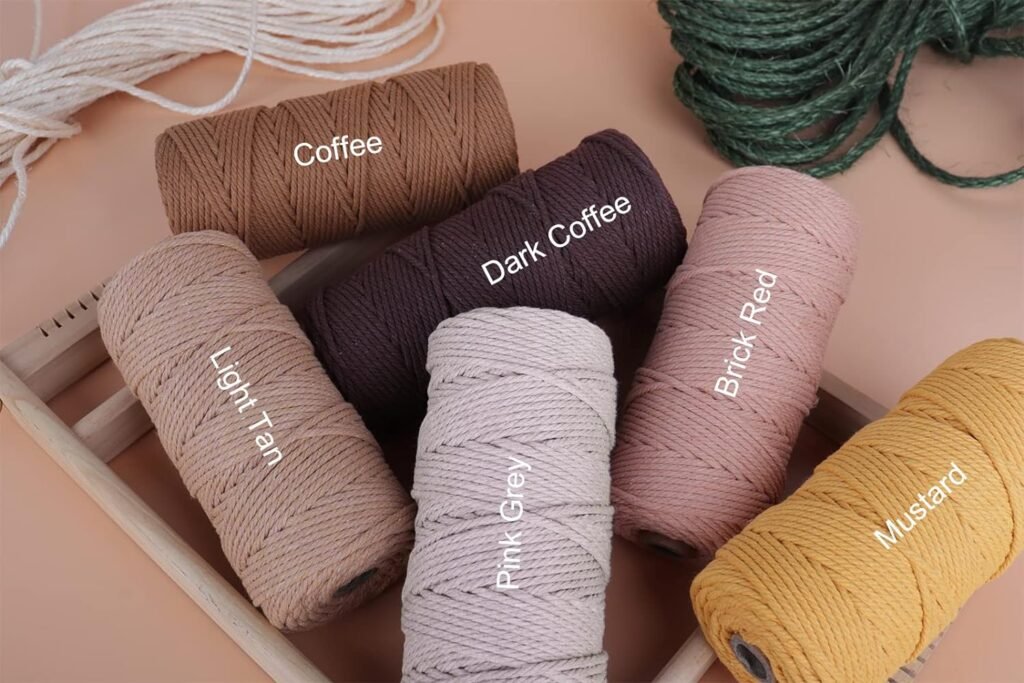
- Macrame Cord – Sturdy and soft, perfect for crafting.
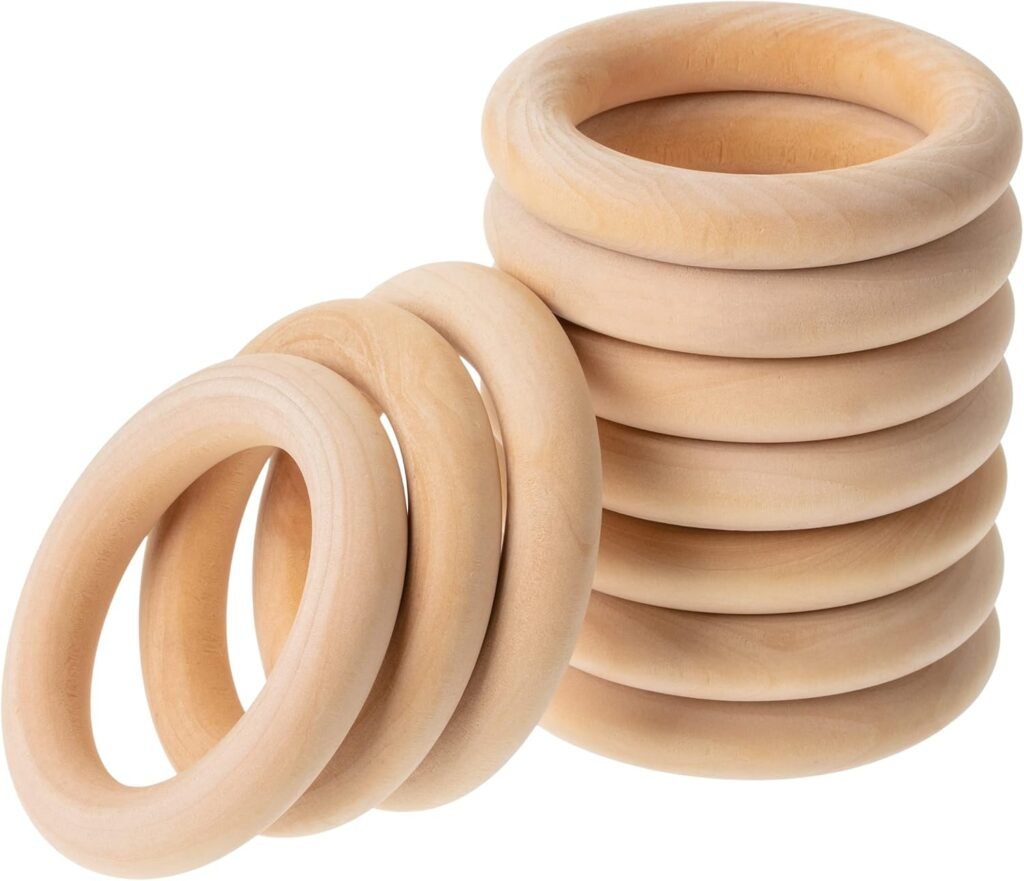
- Wooden Rings – Ideal for hanging your creations.
Instructions: Cut the cord into equal lengths, and tie a knot at the top to secure it to the ring. Create different knots along the length of the cords to form a cradle for the pot. You can follow this macrame plant hanger tutorial for step-by-step instructions.
8. Stenciled Accent Wall
Give your room a statement wall without the commitment of wallpaper. Stencils are affordable and allow you to create stunning patterns.
What You’ll Need:
- Wall Stencil Set – Geometric and floral patterns to suit any style.
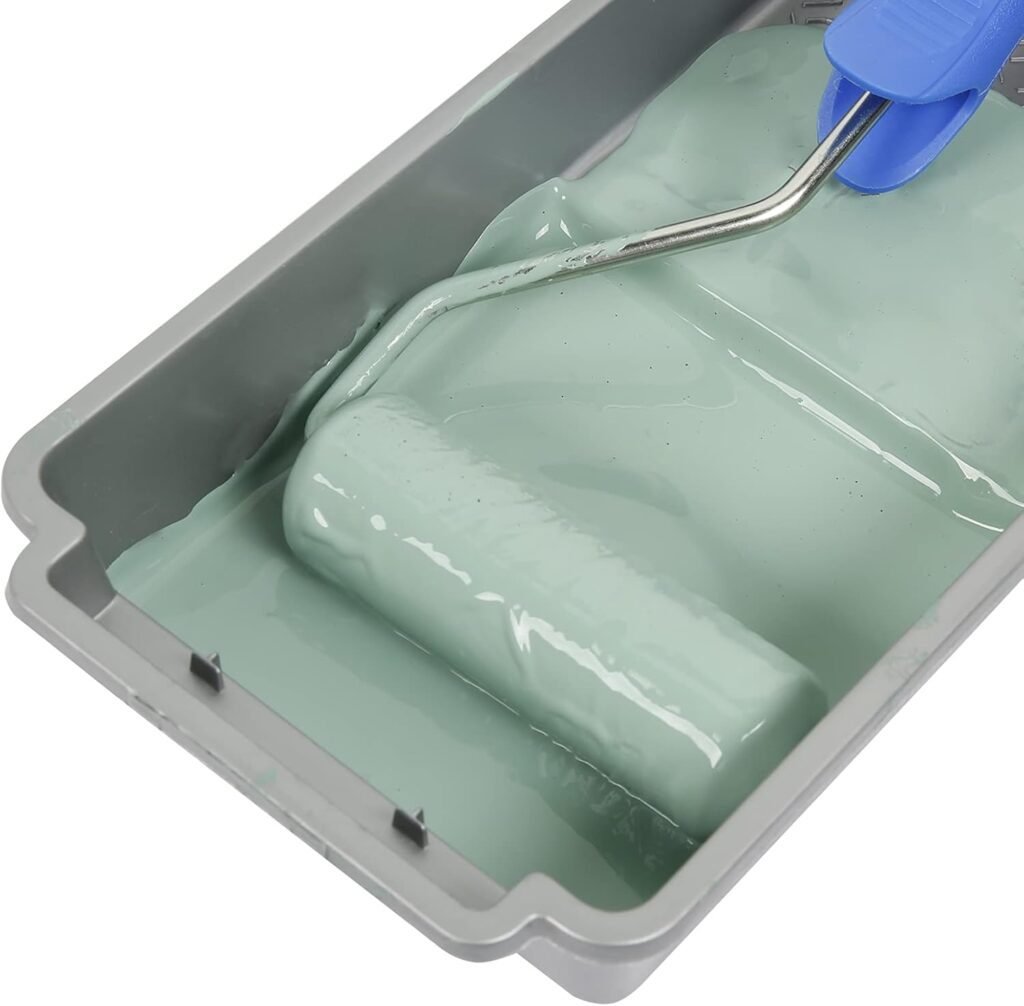
- Foam Roller – Smooth application without drips.
Instructions: Start by painting the base color of your wall. Once dry, tape the stencil to the wall, and use a foam roller to apply the accent color. Peel away the stencil carefully to reveal your pattern. Repeat as needed. This stenciled wall tutorial shows you how easy it is.
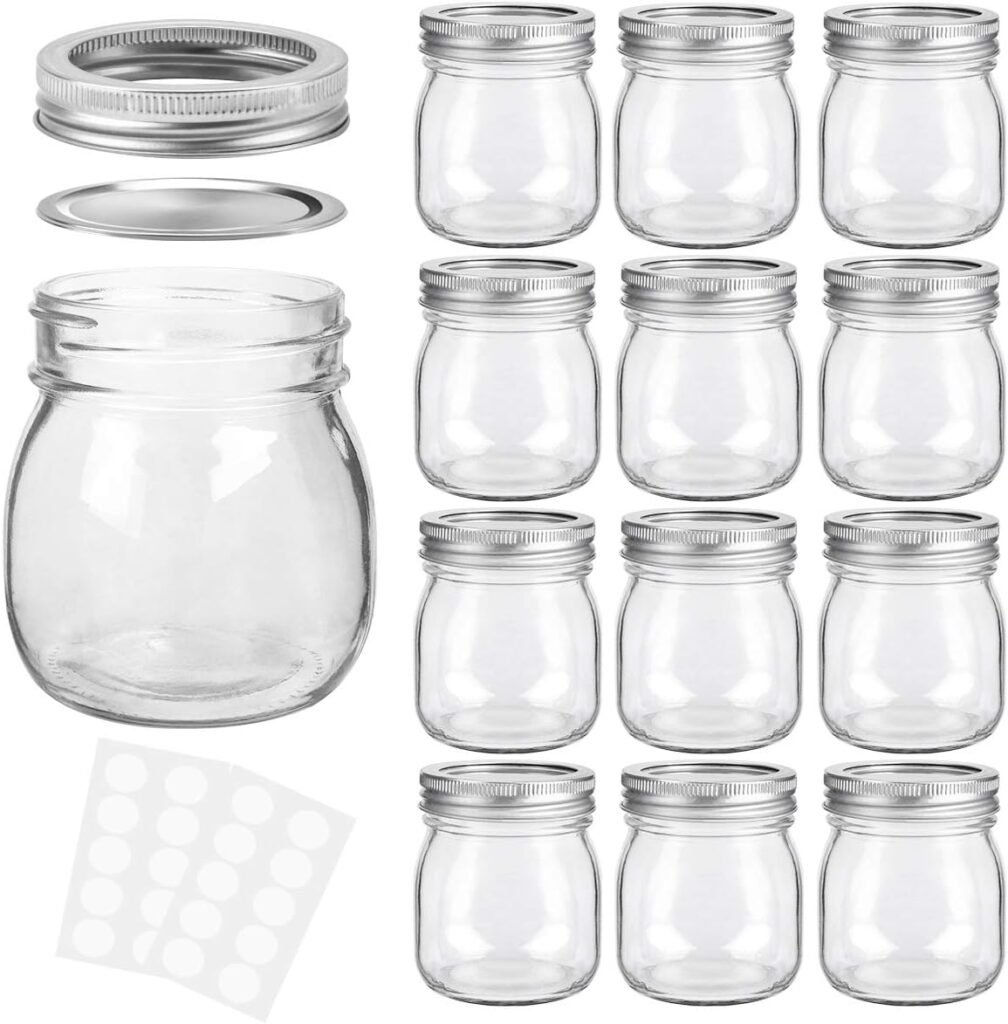
9. Mason Jar Sconces
Light up your space with DIY mason jar sconces! These are super cute and easy to make. Add some fairy lights, and you’ve got a dreamy atmosphere.
What You’ll Need:
- Mason Jars – Sturdy and timeless.
- Fairy Lights – Warm and subtle lighting for a cozy vibe.
Instructions: Secure the fairy lights inside the mason jars. You can attach the jars to a wooden plank for a rustic look and hang them on the wall. This mason jar sconce tutorial breaks down each step.
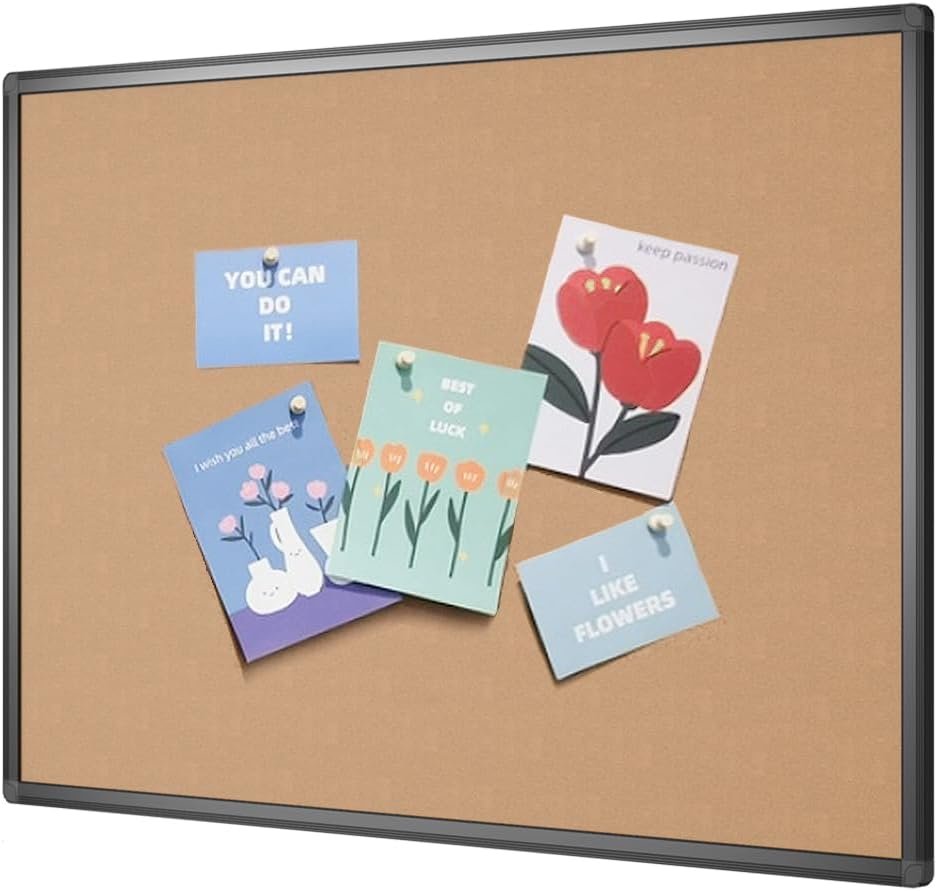
10. Fabric-Covered Bulletin Board
Stay organized in style! Cover a corkboard with a fabric that matches your decor and use it to display photos, notes, or to-do lists.
What You’ll Need:
- Cork Board – A simple base for your project.
- Fabric Set – Choose from trendy prints to personalize your board.
Instructions: Cut the fabric slightly larger than the board, and wrap it tightly around the cork. Secure it on the back using a staple gun. You can add decorative push pins for an extra touch. Here’s a fabric-covered bulletin board tutorial.
I hope these DIY projects spark some creativity and help you add a personal touch to your home without stretching your budget. Have fun creating, and don’t forget to check out the product links if you need supplies. Happy decorating!


